AWS RoboMaker - Beginner's Guide to Robot Simulation
At first glance, AWS RoboMaker might appear to be smoke and mirrors. That’s certainly how I felt before I had given the service a good look this week.
AWS RoboMaker is a development, deployment, and simulation platform for ROS (Robot Operating System). ROS has been around for a long time and is widely used throughout the Robotics industry. Because of its niche, and the fact that its usefulness isn’t as apparent outside of the industry; it’s no surprise RoboMaker hasn’t caught many people’s attention in my Twitter circles.
Introduction
The purpose of this post is to ultimately walk you through simulating ROS packages on AWS RoboMaker. While this isn’t a new topic, I don’t believe anyone has done it justice for the ultra beginners. We won’t be writing any ROS modules, however, I’ll try to make you feel comfortable packaging up existing ones.
There is a huge collection of fantastic examples of RoboMaker configured ROS projects on the AWS Robotics GitHub. The project we work on in this post is interchangeable with the ones there.
Just Like the Simulations
At the heart of RoboMaker are the management services for a couple of pieces of software:
- roscore - Collection of nodes and programs that are the pre-requisite for ROS-based systems. Nodes communicate with each other on an instance of roscore.
- RViz - 3D visualisation tool for ROS. During simulations, we can use RViz to visualize what the robot is doing. RViz can also be used to communicate back to the robot, however, this isn’t something we’ll be covering.
- Gazebo - Robot simulation with a proper physics engine.
RoboMaker will automatically set up all these pieces for you, which doesn’t sound like a big deal; however, if you’ve tried managing this stack of software yourself you’ll be aware of how many moving parts there are.
Dockerized Environment
For the project, I’ve created a Dockerized environment that can be used to fully simulate everything locally (Gazebo is the exception due to graphic passthrough limitations over VNC). Pull down the repository to start with.
git clone https://github.com/t04glovern/aws-robomaker-docker
cd aws-robomaker-docker
To run the build and setup of an environment is as easy as running the following:
docker-compose up -d
Now go get a cup of coffee, because this will take some time. Once completed, running docker ps -a will reveal the following is running
$ docker ps -a
# CONTAINER ID        IMAGE                      COMMAND             CREATED             STATUS                            PORTS                                          NAMES
# f5c3408b0c27        aws-robomaker-docker_ros   "/startup.sh"       10 seconds ago      Up 9 seconds (health: starting)   0.0.0.0:5900->5900/tcp, 0.0.0.0:6080->80/tcp   catkin
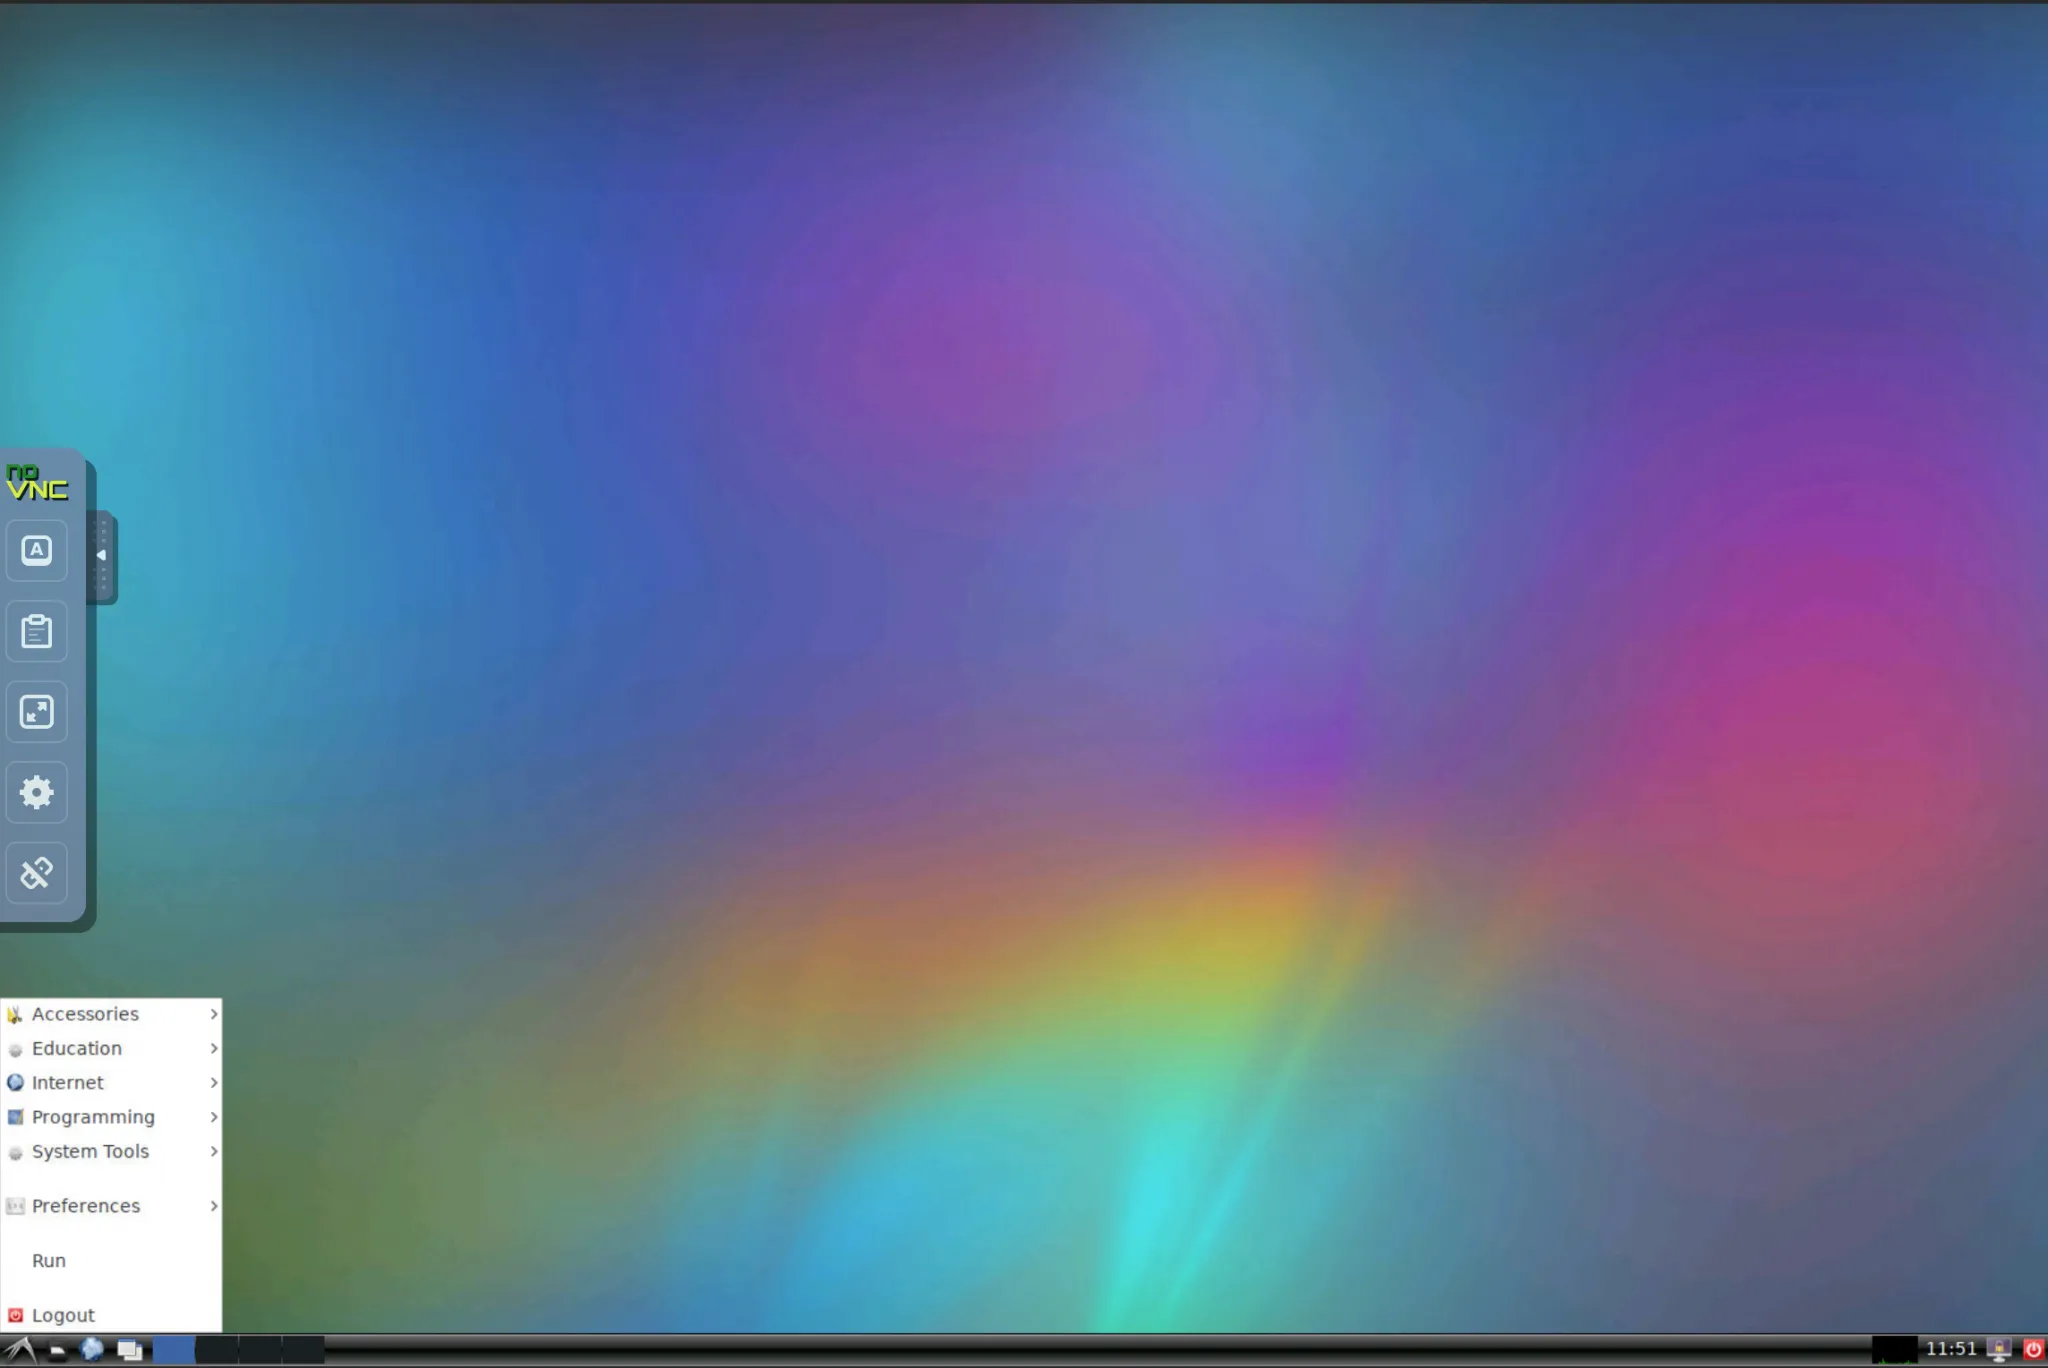
Open up http://localhost:6080 in a browser and you should be presented with a VNC’d session of the environment.
Simulating Locally
To begin with, let’s simulate the ROS deployment locally. Fire up a terminal and run the following commands
# High-level Project Workspace
cd /home/ubuntu/catkin_ws/src

# Simulation Workspace
cd simulation_ws

# Update Workspace & install dependencies
rosws update
rosdep install --from-paths src --ignore-src -r -y
Updating the workspace will pull down any external dependencies that aren’t in the repo that might be needed. You can inspect what these are by opening the .rosinstall file in the simulation_ws Workspace. In this case, you can see below what is required.
- git: {local-name: src/deps/aws-robomaker-bookstore-world, uri: "https://github.com/aws-robotics/aws-robomaker-bookstore-world", version: v0.0.1}
- git: {local-name: src/deps/turtlebot3, uri: "https://github.com/ROBOTIS-GIT/turtlebot3", version: d3cdcc6647812ae9a83f05e626cdae322923ac84}
- git: {local-name: src/deps/turtlebot3_simulations, uri: "https://github.com/ROBOTIS-GIT/turtlebot3_simulations", version: 1.2.0}
The final step is to build the local packages. For this, we use colcon which will orchestrate all the necessary steps to build all the modules.
colcon build
If everything goes correctly, you should see the following
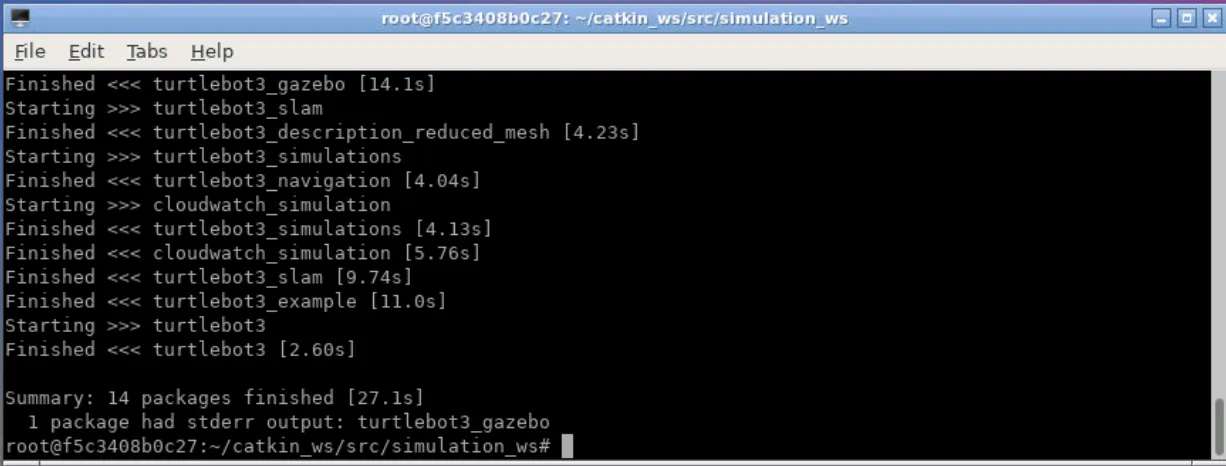
Execute Simulation Locally
We’re now ready to run the simulation locally. For this example, we have the option to set what type of robot we’d like to use. This is done by setting an environment variable like so:
# Options are burger, waffle & waffle_pi
export TURTLEBOT3_MODEL=waffle_pi
Next setup your shell environment with all the necessary ROS workspace config
# Make sure you're in the workspace above `simulation_ws`
cd ../

# set environment configuration
source simulation_ws/install/local_setup.sh
There are two options for the simulation environment:
empty_world.launch- Empty world with some balls surrounding the turtlebot at (0,0)bookstore_turtlebot_navigation.launch- A retail space where the robot navigates to random goals
Pick one of the above and run the following to launch the simulation
# Command
roslaunch cloudwatch_simulation [command]

# Example
roslaunch cloudwatch_simulation bookstore_turtlebot_navigation.launch
If all goes well you should see the following that indicates that the robot is simulating
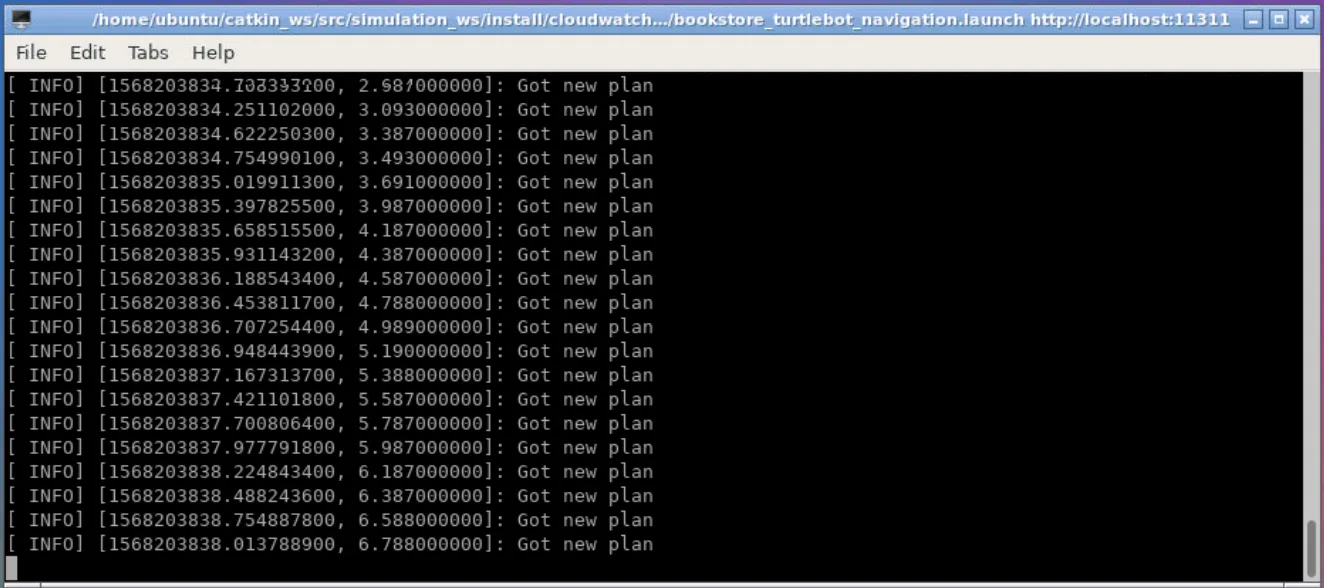
Viewing Simulation Locally
A terminal isn’t very interesting, and the fun stuff is viewing the robot. This can be done using RViz. Open up a new terminal and run the following
rviz
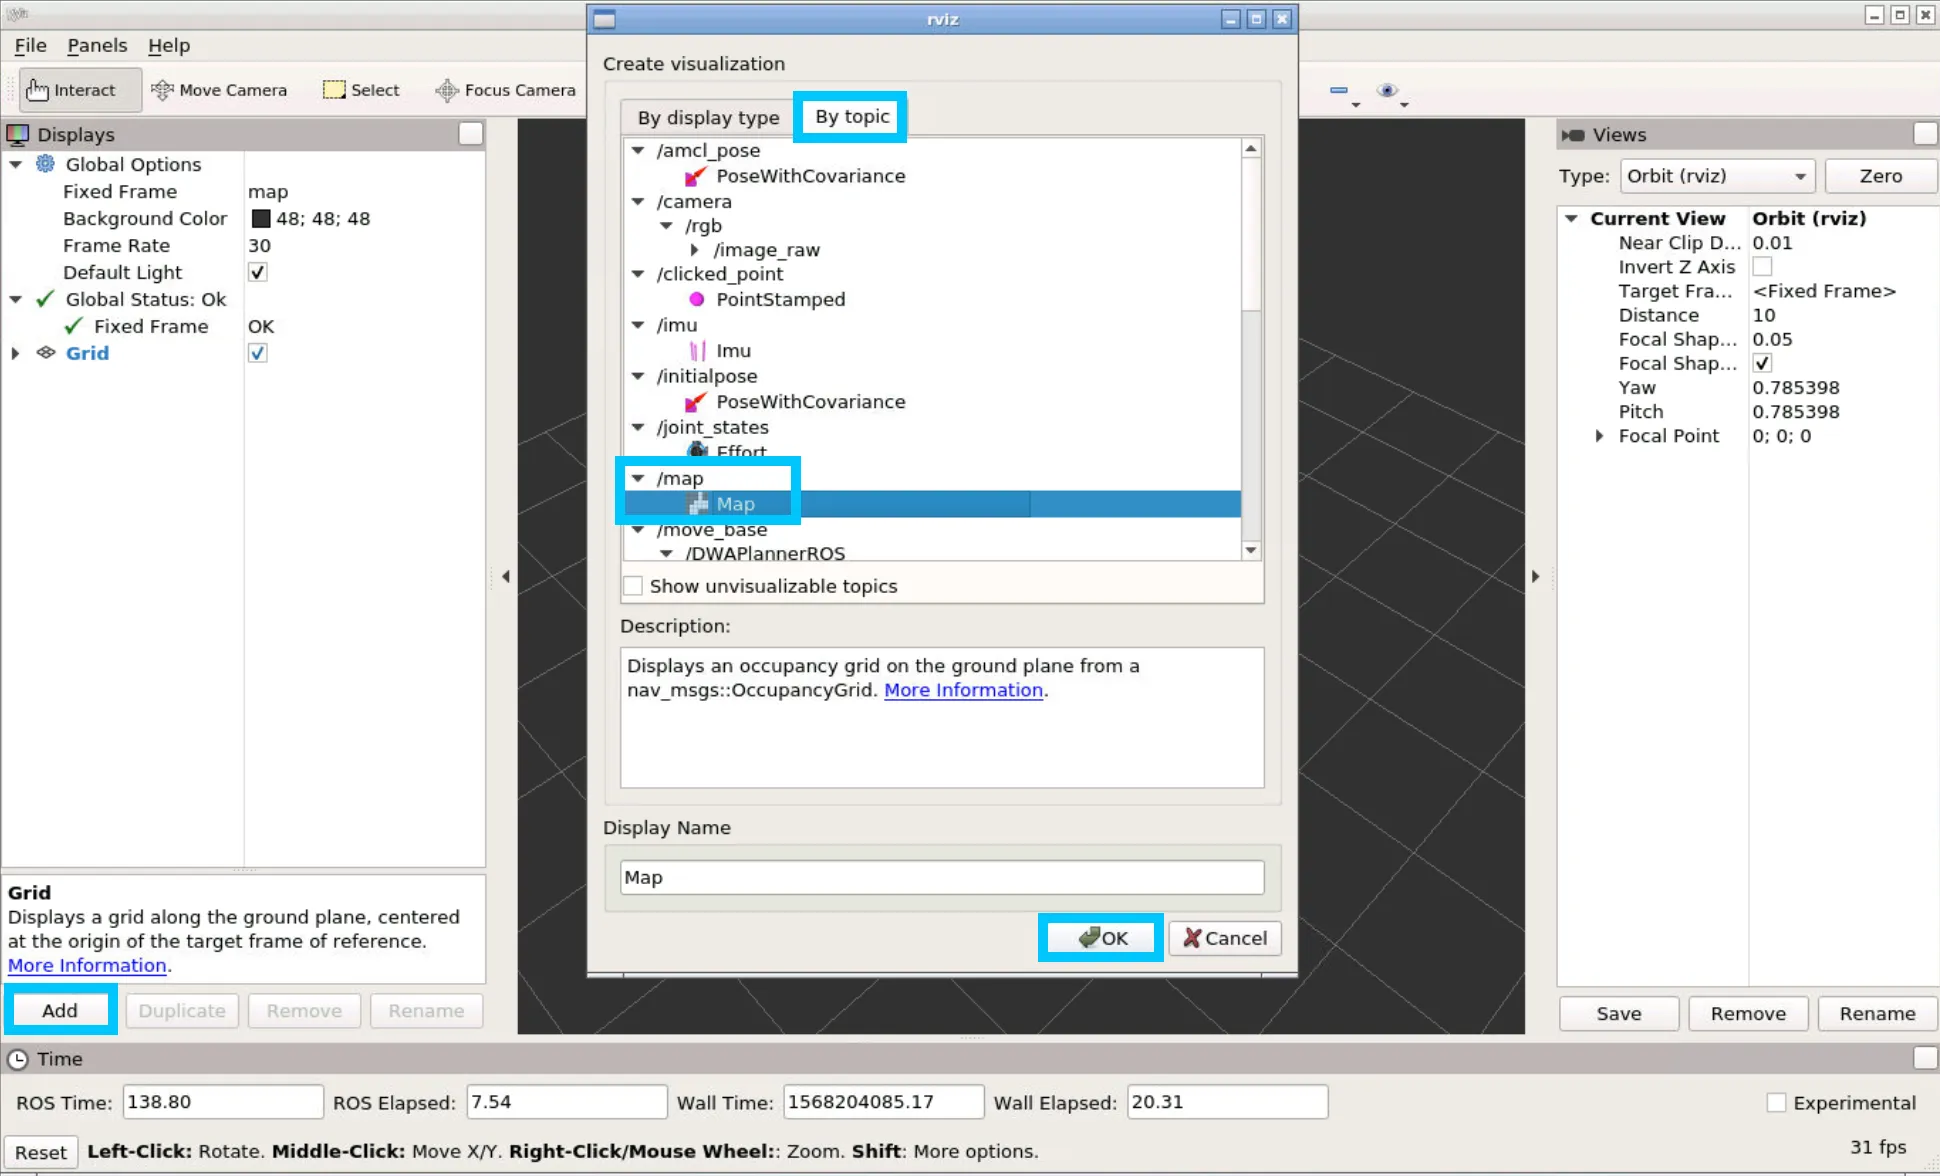
You’ll be greeted with a UI. From here you need to add the Map from the topic
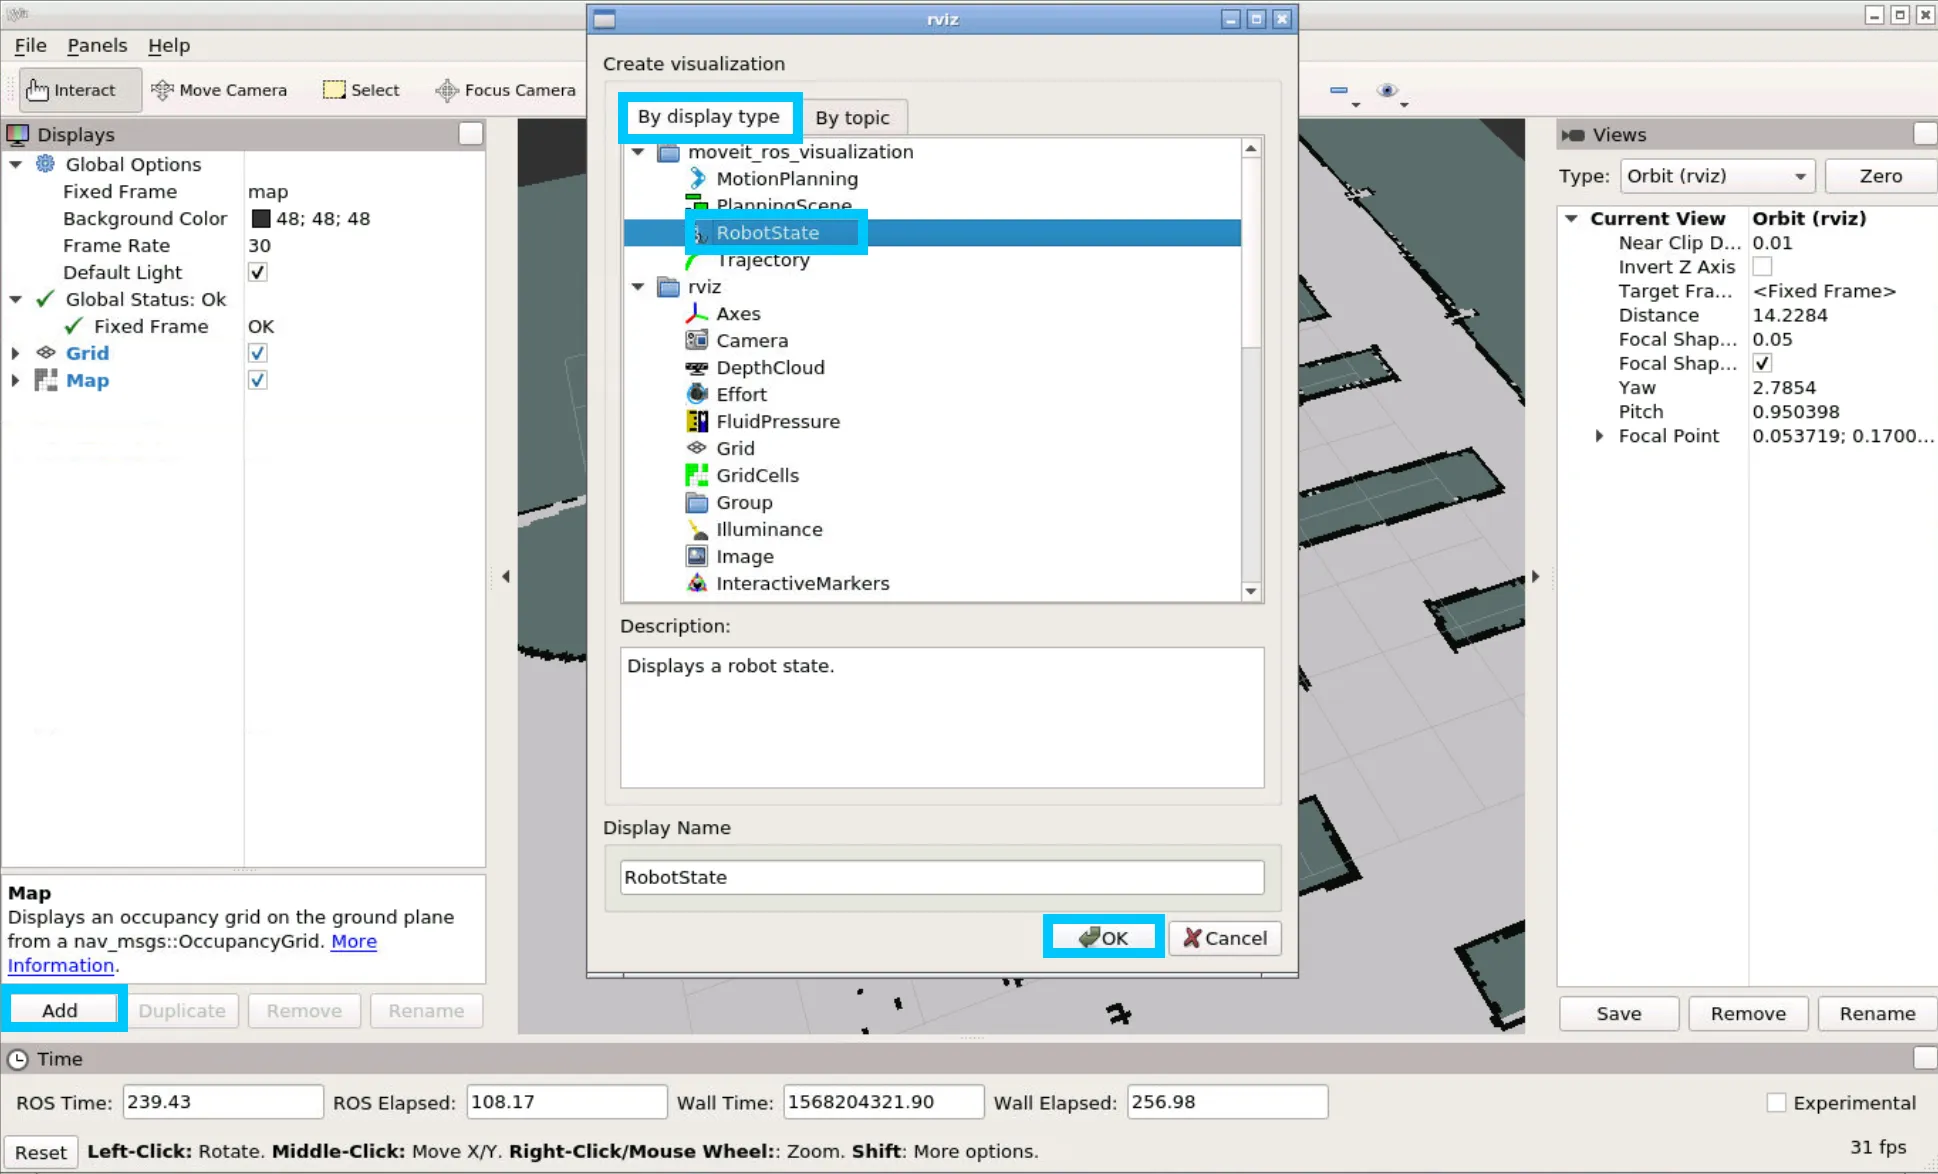
And the RobotState from the basic display type
Have a play around, and add in some other optional displays. Below is an example of Camera and LaserScan data.
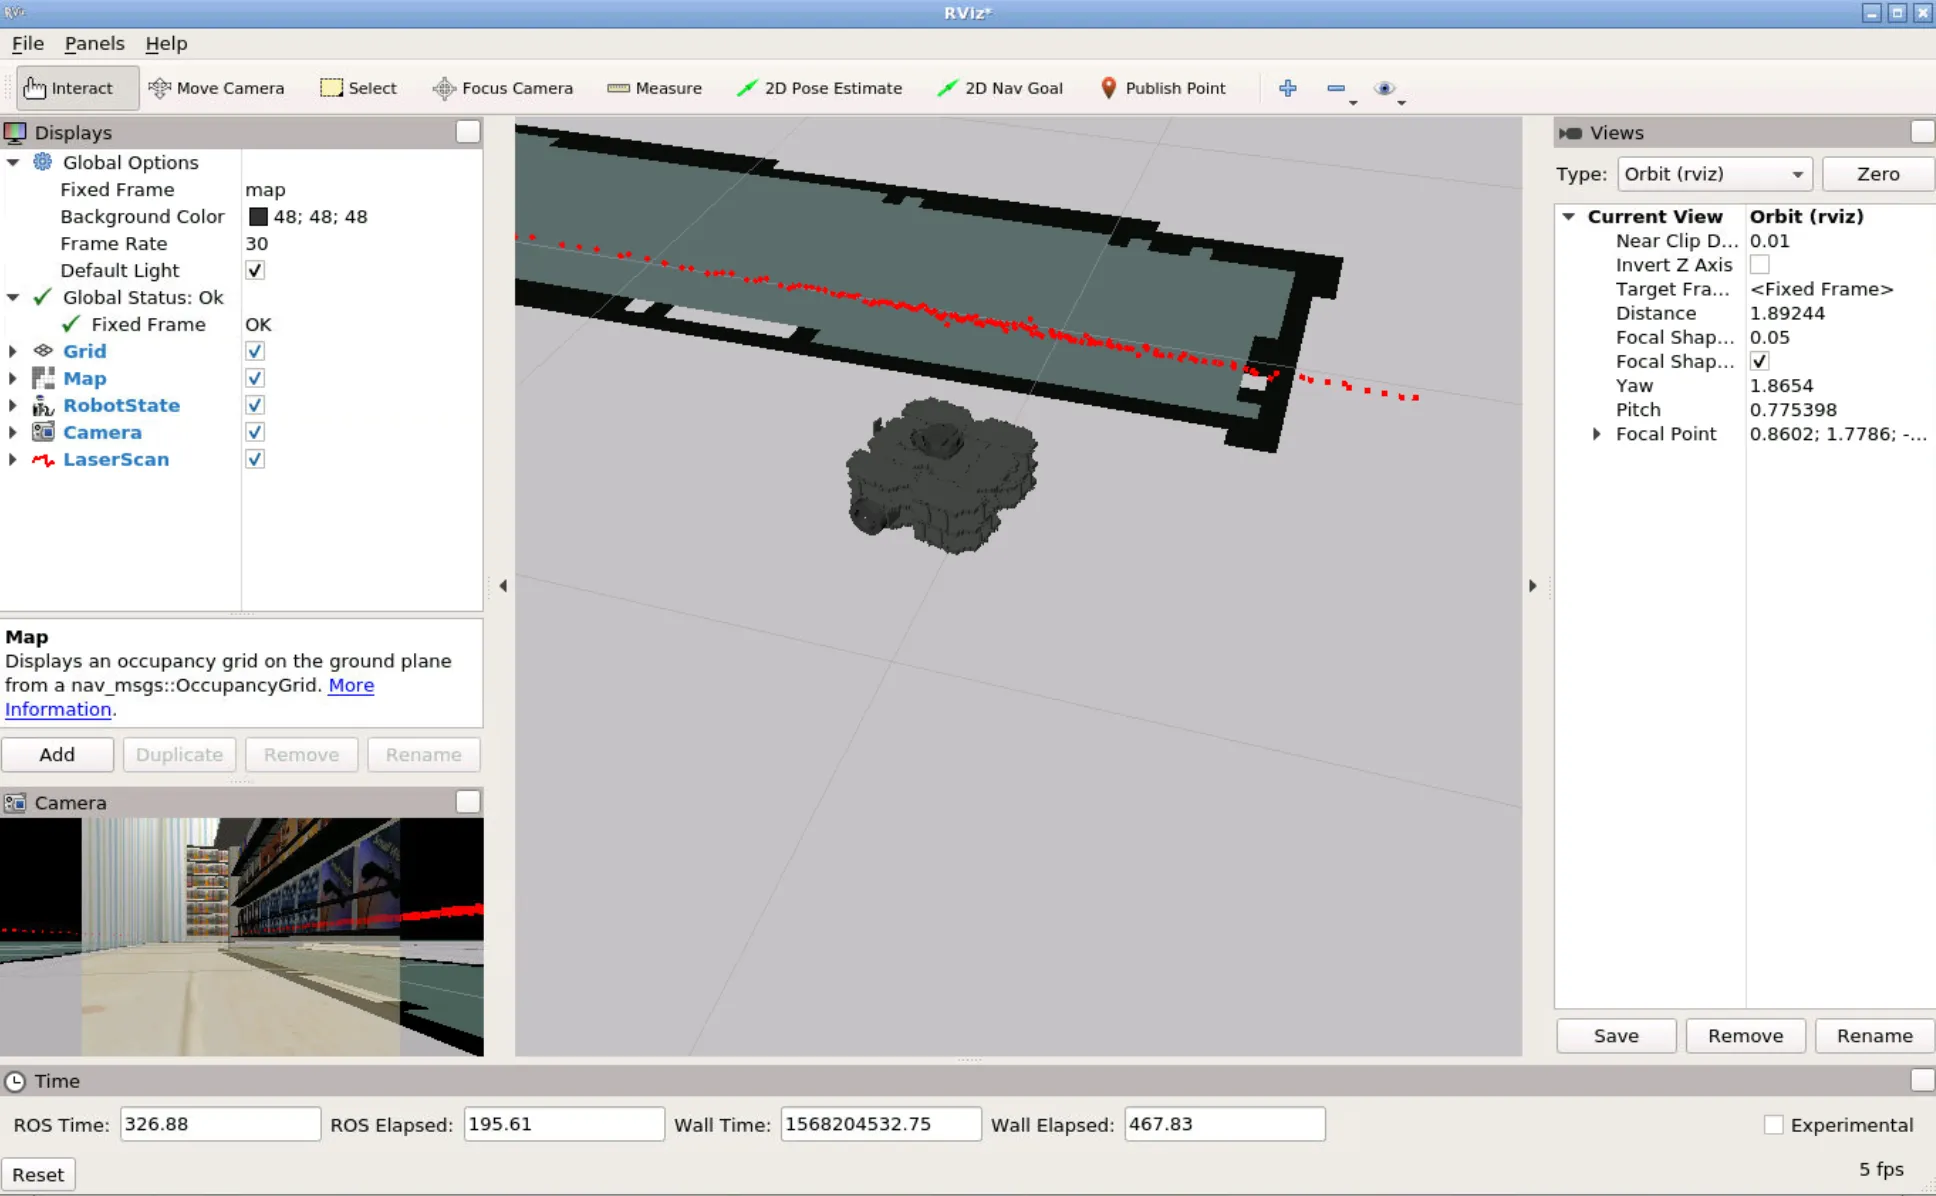
When you’re done, close down RViz and move on to the next step.
Simulating on RoboMaker
To deploy to RoboMaker we’ll need to bundle up everything that makes our robot special. This is done using colcon.
cd /home/ubuntu/catkin_ws/src/simulation_ws
source install/local_setup.sh
colcon bundle
This step takes a very long time (30+ minutes in some cases) as the bundler needs to pull down everything needed to run your robot from scratch.
Once completed it will spit out an output.tar file in simulation_ws/bundle/output.tar. We should pull this tar down to our local computer. This is done using the following docker command from your actual computer (not in the container).
docker cp catkin:/home/ubuntu/catkin_ws/src/simulation_ws/bundle/output.tar .
We will then need to upload this .tar to an S3 bucket to be used in the next steps. I’m going to be using my own bucket devopstar, you will need to make your own. This is done by running the following command.
aws s3 mb s3://your-bucket-name
NOTE: For the remainder of this tutorial I’ll be using the following bucket and path for my files. Replace these references with your own.
- bucket: devopstar
- key_path: resources/aws-robomaker-kickstart
Upload the tar to S3 in a folder called input. The naming doesn’t matter, however it makes it easier to distinguish.
aws s3 cp output.tar s3://devopstar/resources/aws-robomaker-kickstart/input/simulation_ws.tar
CDK Deploy
I’ve written a deployment of the RoboMakerSimulation and custom roles required using CDK, however this isn’t necessary for the tutorial. If you want to know how to create the CloudFormation template used in this tutorial, you run run the following.
# Install CDK
npm install -g aws-cdk

cd cdk/
npm install
npm run build

# Export a synthesized template
cdk synth --no-staging > template.yaml
If you want to deploy using CloudFormation, deploy the cdk/template.yaml file from either the CLI or Web interface. Your parameters will be different based on the bucket name and .tar location.
Take note of the outputs from the creation of the resources. You should receive the following:
- Role: arn:aws:iam::123456789010:role/robomaker-simulator-simroleXXXXXXXXXXXXXXXXXX
- Application ARN: arn:aws:robomaker:us-east-1:123456789010:simulation-application/aws-robomaker-kickstart/1568206875172
RoboMaker Simulation Job
The final step now is to run the Simulation job from the RoboMaker console. Unfortunately, there’s no simple way to deploy this piece with CloudFormation. Use the information from the previous step to create a version of the following json (available in RoboMakerJob.json)
{
    "outputLocation": {
        "s3Bucket": "devopstar",
        "s3Prefix": "resources/aws-robomaker-kickstart/output/"
    },
    "maxJobDurationInSeconds": 3600,
    "iamRole": "arn:aws:iam::123456789010:role/xxxxxxxxxxxxxxxxxxxxxxxxxxxxxxxxxxxx",
    "failureBehavior": "Continue",
    "simulationApplications": [
        {
            "application": "arn:aws:robomaker:us-east-1:123456789010:simulation-application/aws-robomaker-kickstart/1568120923973",
            "applicationVersion": "$LATEST",
            "launchConfig": {
                "packageName": "cloudwatch_simulation",
                "launchFile": "bookstore_turtlebot_navigation.launch",
                "environmentVariables": {
                    "TURTLEBOT3_MODEL": "waffle_pi"
                }
            }
        }
    ],
    "tags": {
        "Project": "aws-robomaker-kickstart"
    }
}
Deploy the job using the CLI
aws robomaker create-simulation-job --cli-input-json file://RoboMakerJob.json
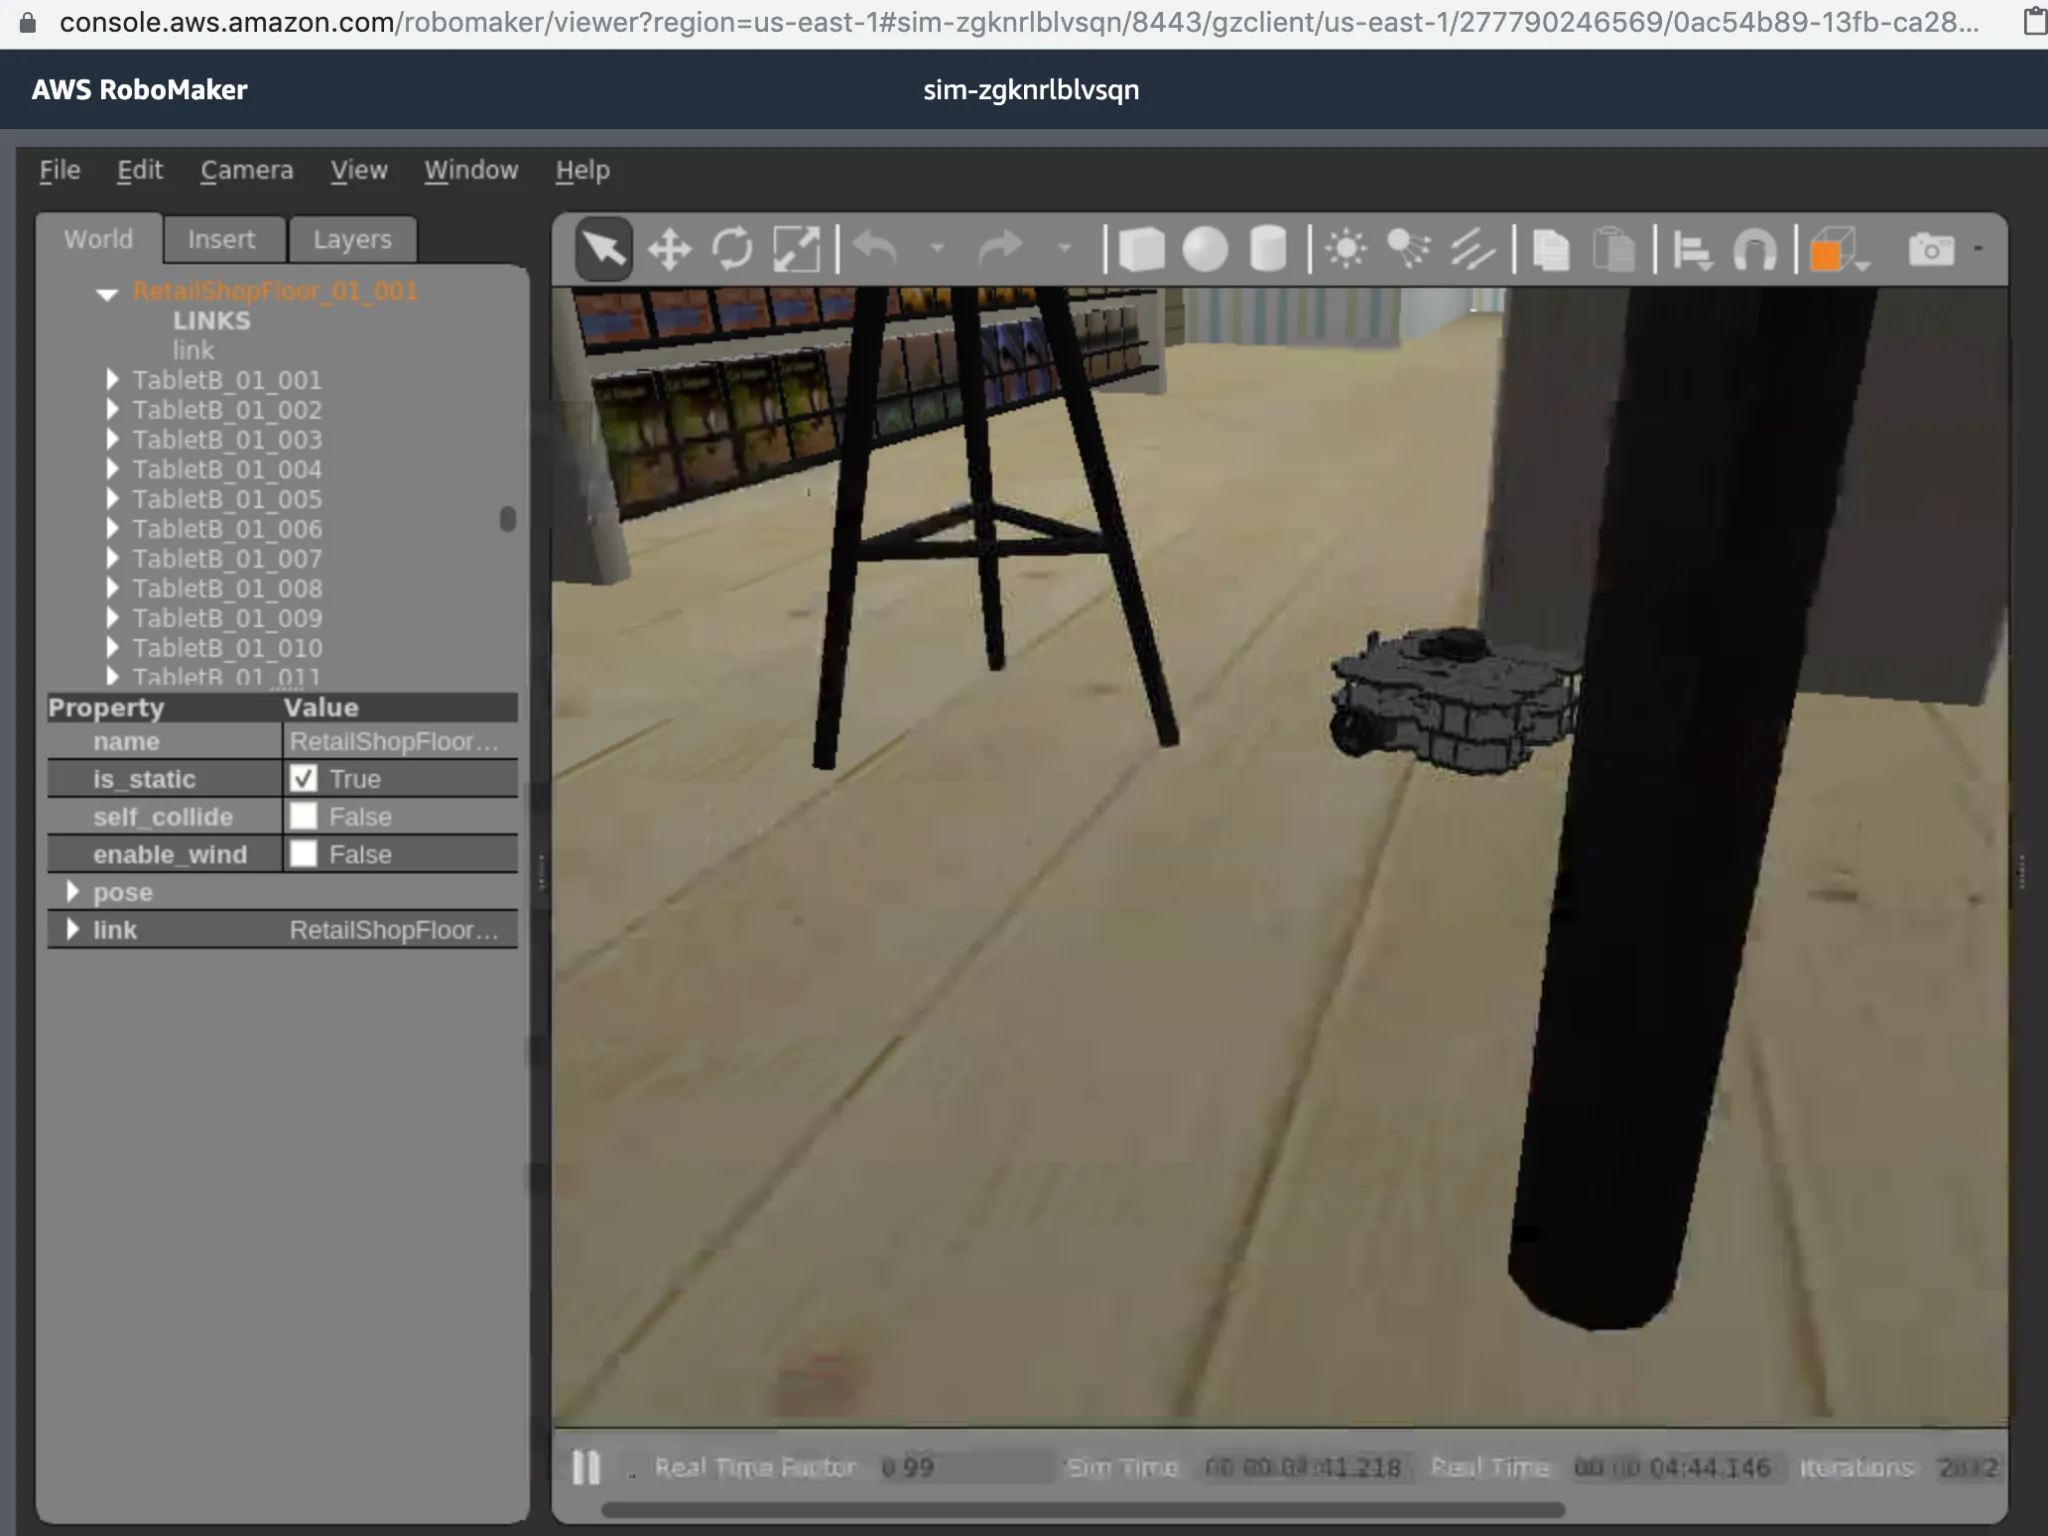
Head over to the Web interface and check out the Simulation Job you just created. Once loaded up, open an instance of Gazebo.
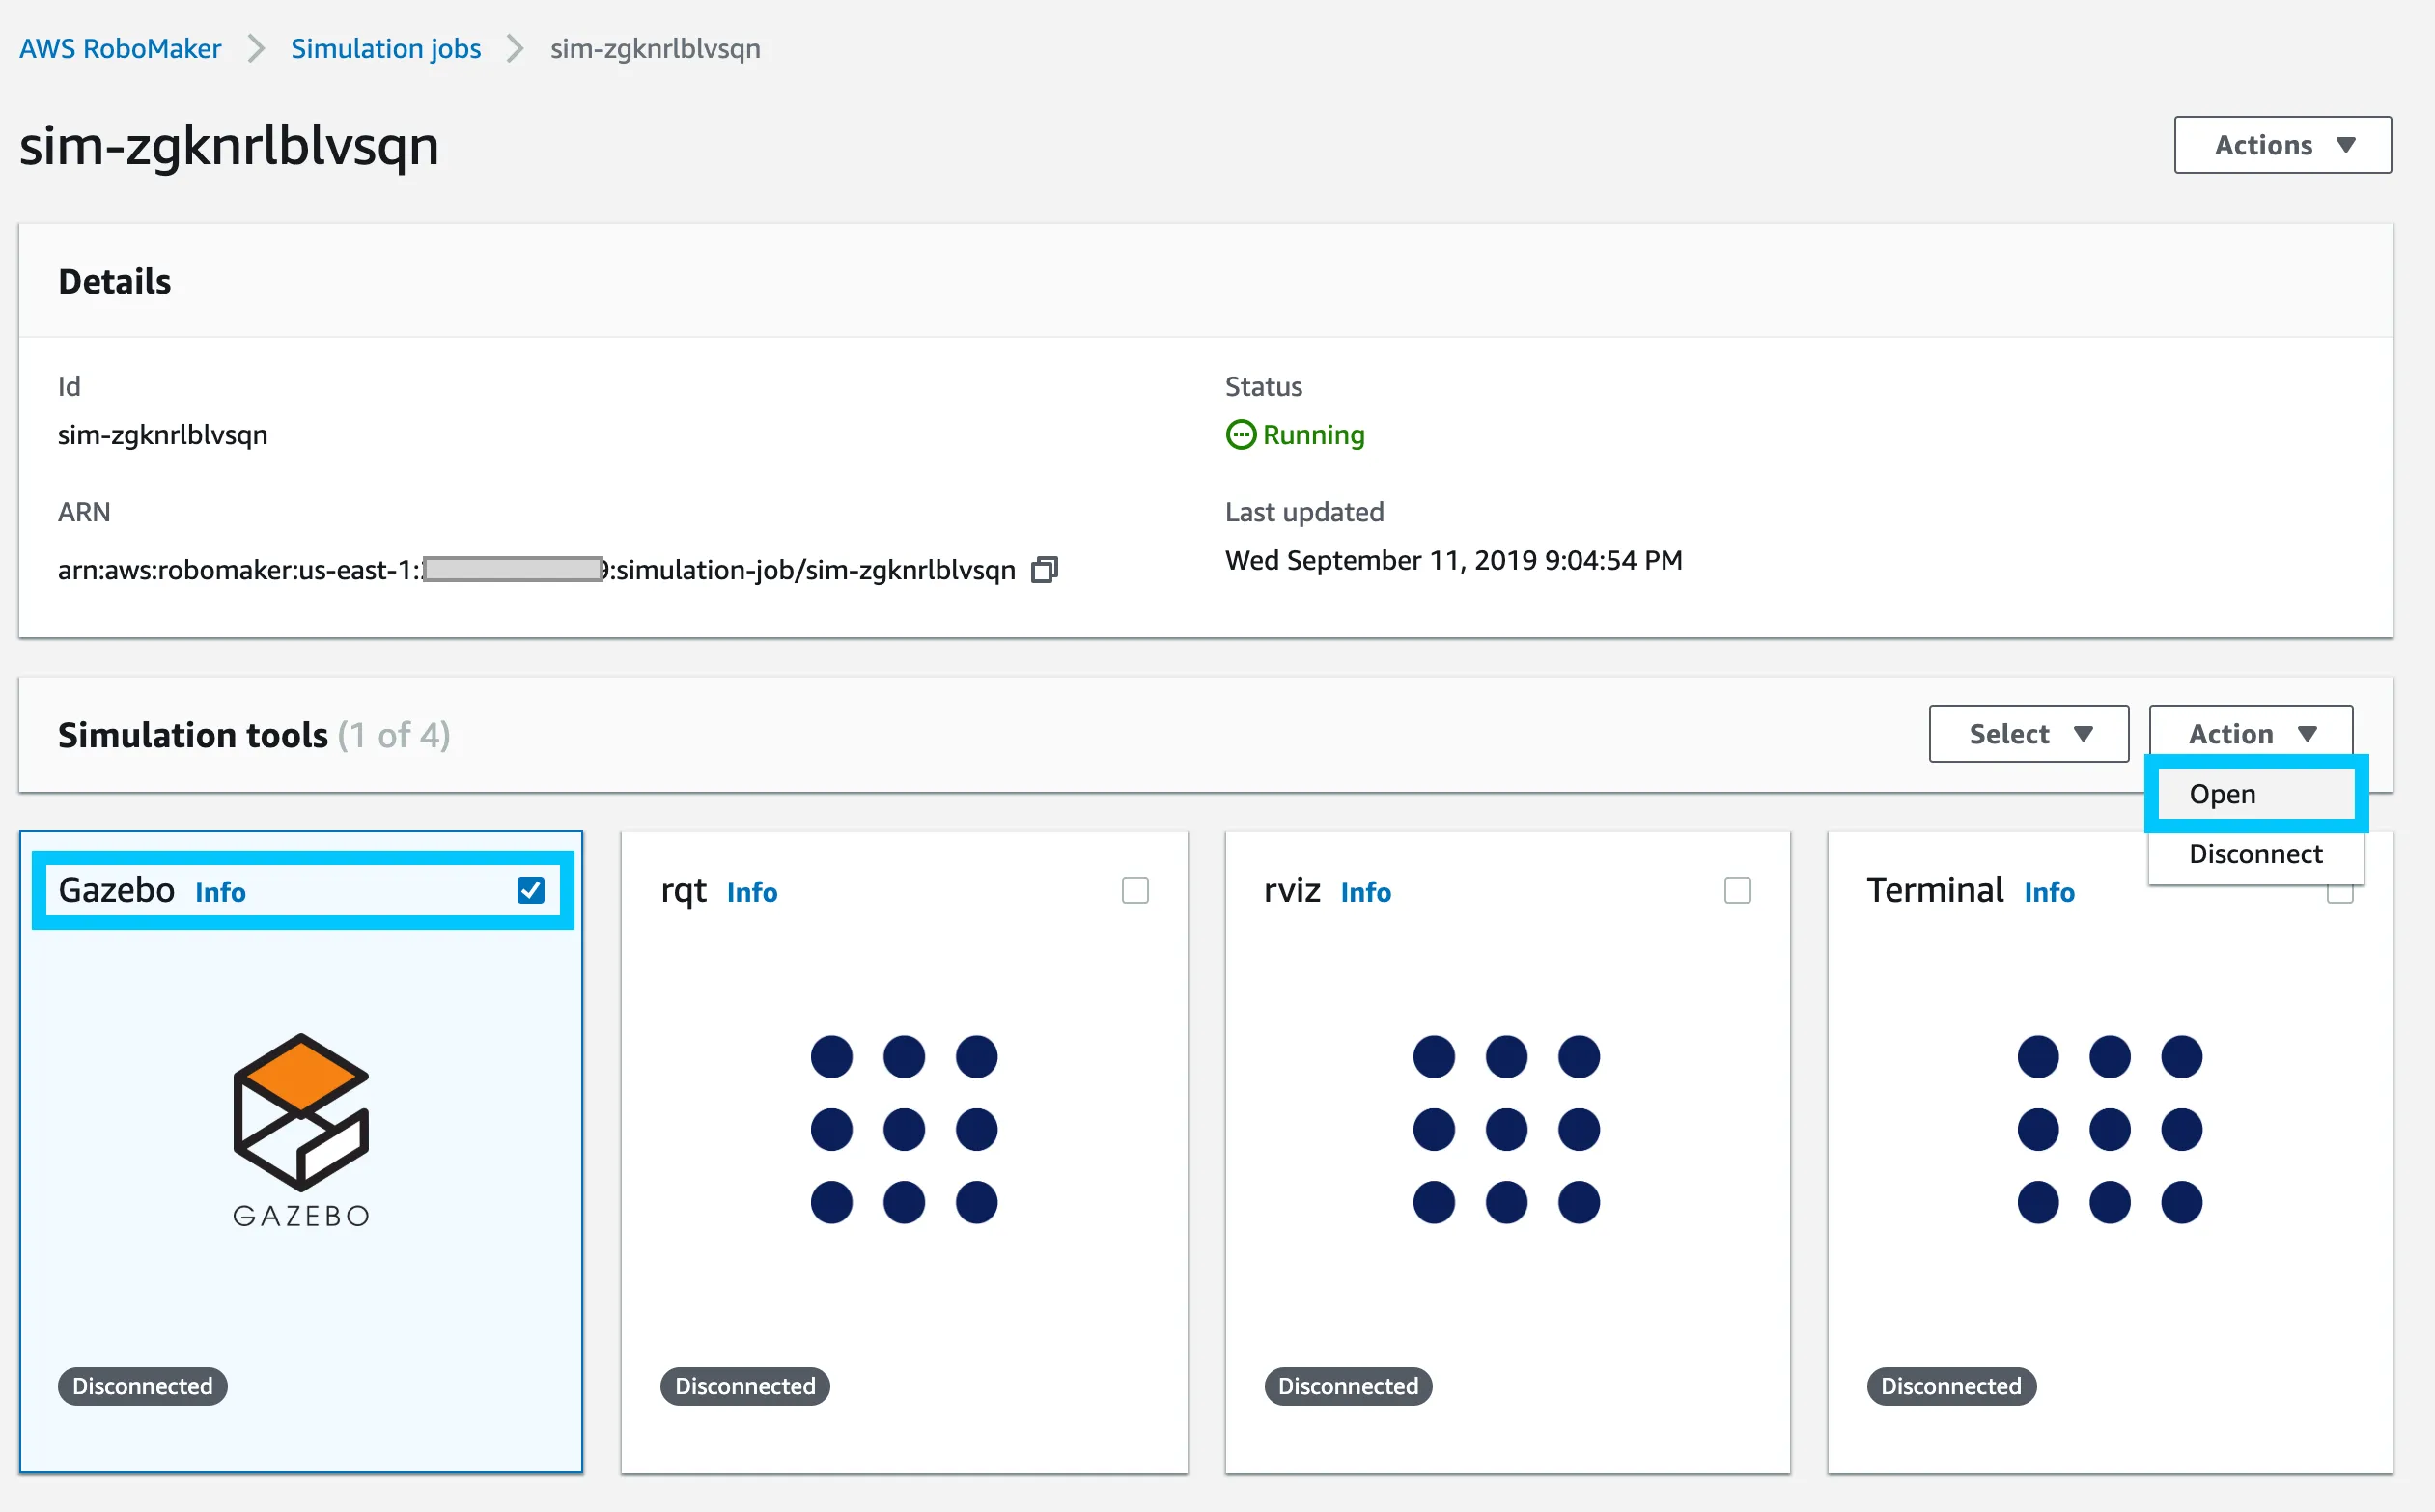
You should now be able to interact with the Simulation in a 3D space.
Summary
AWS RoboMaker is a service that probably has gone mostly unnoticed by general users. However, I can see its value after giving it some time. ROS can be a major pain to work with, mostly due to different versions requiring distinctly different versions of roscore.